Drive wheel stuck or jammed? Clean, diagnose, and know when to replace it
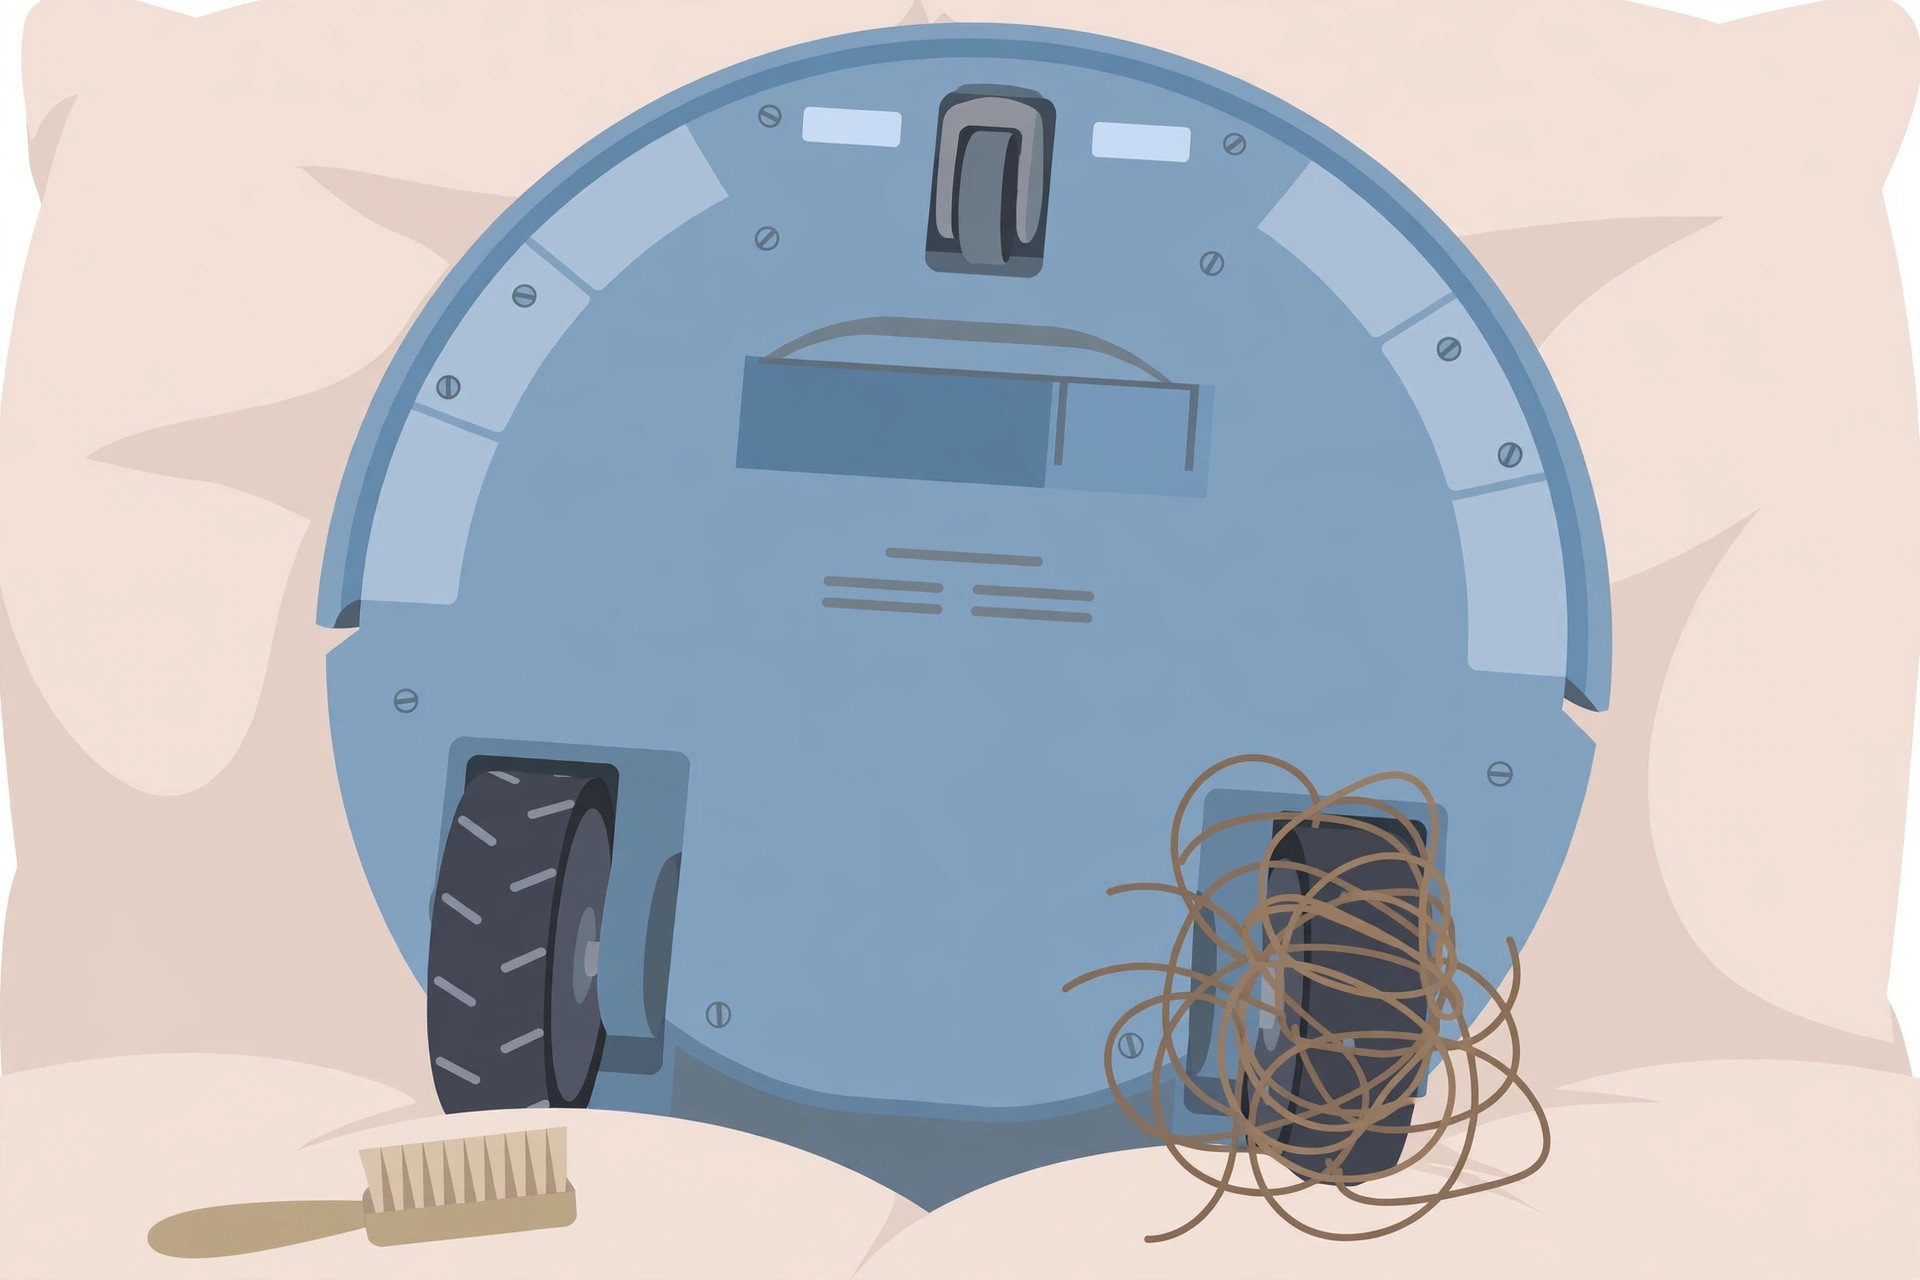
"Drive wheel stuck" almost always traces to three suspects: debris wrapped around the axle, a wheel sensor claiming the wheel is stuck when it isn't, or a dead wheel motor. The mistake is treating all three the same — replacing a wheel that needed a cleaning, or cleaning a wheel whose motor has already failed. Work through the steps below in order and you'll know which problem you actually have.
Three different problems behind one error
Manufacturers express the same symptom in different ways — a wheel-jam error code, a voice prompt about a stuck drive wheel, or the robot dragging one side and spinning. Behind it sits one of three faults. A debris jam means hair, thread, or grit is physically blocking rotation. A sensor false reading means the wheel moves fine, but dust on the wheel sensor makes the robot believe it doesn't. A motor or drivetrain failure means the wheel is clean and the sensor is clean, and the wheel still won't drive. The steps below isolate them in order, so you fix the actual problem.
Step 1: Power off and clear the wheel wells (10 minutes)
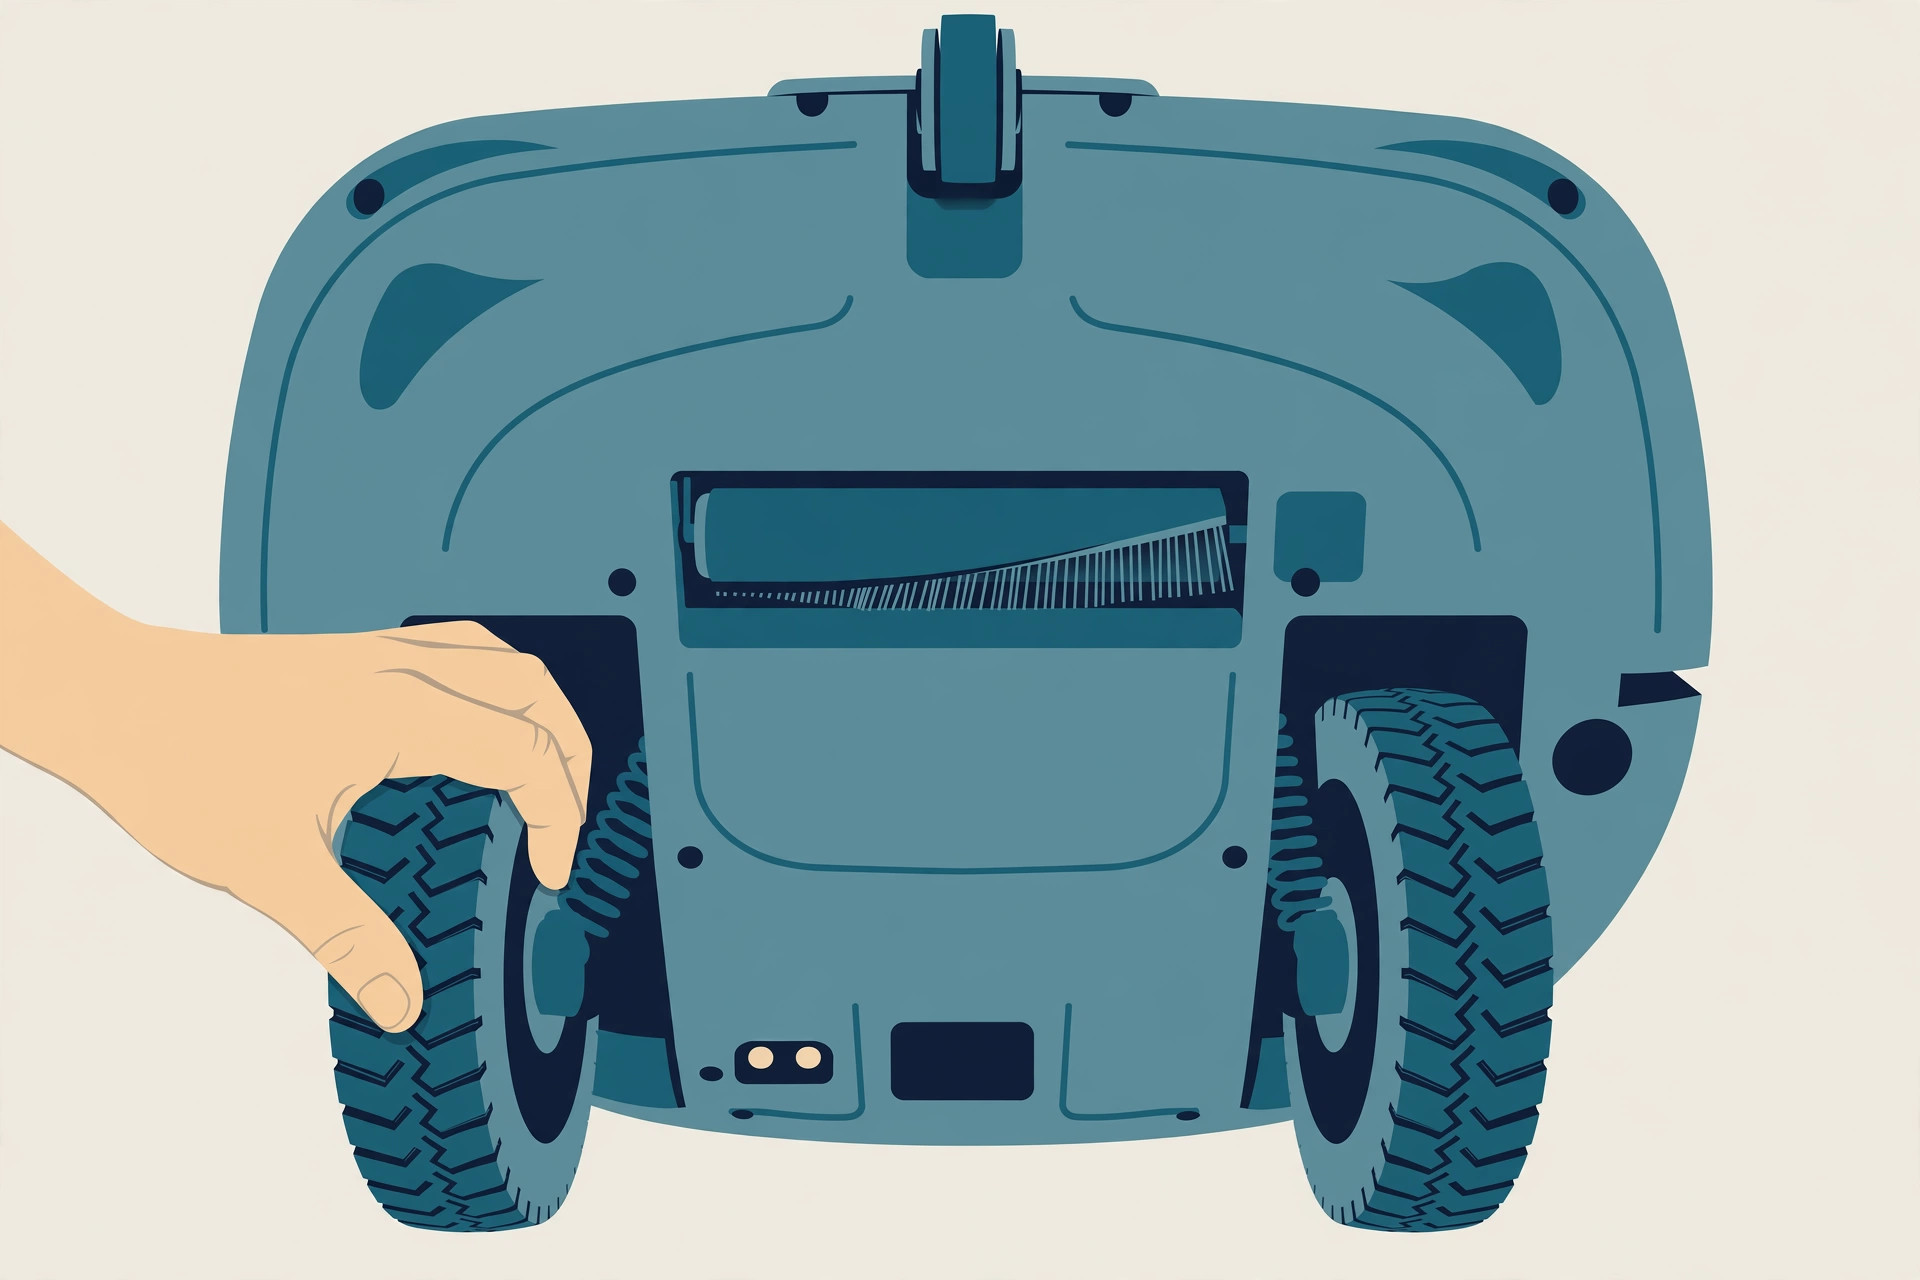
Turn the robot off and flip it onto a soft surface, underside up. Powering off matters: wheel motors can resist movement as part of normal operation, so a running robot can feel "stuck" when nothing is wrong. With the unit off, rotate each drive wheel by hand and press it in and out a few times to loosen debris packed inside the wheel housing.
Now work around each wheel: use tweezers or a small brush to pull hair, thread, and carpet fibers off the axle and out of the housing. Pet hair is the usual culprit — it wraps tightly around the axle and throttles rotation even when the wheel still turns. Check the front caster wheel too: rotate it in every direction and clear its cavity and axle the same way. Finish by lifting fine dust from inside the wheel housings with a small brush or a short blast of compressed air.
Step 2: Rule out the encoder — when the wheel is fine but the robot thinks it isn't (3 minutes)
If both wheels now spin freely by hand but the robot still reports a stuck wheel, suspect the wheel sensor rather than the wheel. Dust on the wheel sensor can make the vacuum believe a healthy wheel is stuck. Wipe the wheel sensors (the small sensor windows near each drive wheel) with a dry cloth or a puff of compressed air — no liquids.
Compare the two wheels by hand — sides should move with similar resistance. If one wheel spins freely while the other grinds or catches at one point in the rotation, you still have debris — or a mechanical problem deeper in the wheel. If both wheels feel identical, run the robot and watch: a cleared sensor stops the false error.
Step 3: Test the motor and drivetrain by hand (2 minutes)
With everything clean and the sensors wiped, press each drive wheel in and check whether it springs back — a wheel that stays pushed in has a mechanical problem in the wheel assembly. Listen for grinding or clicking from one side when the robot runs; a healthy wheel pair sounds even. If the robot still throws the error after a verified clean, a wiped sensor, and matched resistance on both sides, the wheel motor or its drive assembly has failed — and that's a replacement, not a cleaning.
Repair or replace: the decision
Clean again when: you can see or feel remaining debris, the two wheels have different resistance, or the error goes away and returns after a few runs — meaning you missed hair deeper in the well.
Replace the wheel when: the wheel is verified clean and the sensor is wiped but the error persists; one wheel has obvious play or slop in the hub compared to the other; the tread is visibly worn smooth (the wheel slips and spins in place on hard floors); or the wheel grinds or won't turn at all by hand. Loud noise, uneven movement, or visible tread wear are the standard signals that a wheel is done.
Wheel replacement is a moderate DIY job — about 10 to 30 minutes: remove the side brushes, take out a few Phillips screws in front of the wheel, then disconnect a spring and a cable before the old wheel lifts out. If that scope is beyond what you're comfortable with, note which side failed and what the hand test felt like — that sentence is exactly what a repair shop needs.
What success looks like
Set the robot on a hard floor and start a cleaning run. Both wheels drive evenly with no dragging, no grinding, and no error within the first two minutes. Each wheel should also rotate freely with matched resistance and spring back when pressed. For prevention, fold a wheel check into your routine — a quick hair pull from the wheel wells once a month, more often with shedding pets, stops most jams before they start.
FAQ
Why does the robot say the wheel is stuck when I can spin it freely?
Usually a dusty wheel sensor: it measures wheel movement, and dust on it reads
as no movement. Clean the sensor and the error usually clears.
One wheel spins freely and the other catches. Is that debris or a dead motor?
Clean first and compare again — different resistance means something is still
blocking the tighter wheel. If both look clean but the catch remains, the
gearbox or bearing is the likely cause.
Can I stop the robot from getting stuck on the floor mid-run?
That's usually navigation, not the wheels — see our guide on
navigation errors.
Next: robot vacuum won't charge? Diagnose it in 10 minutes →